Fluidterm Program Installation Manual
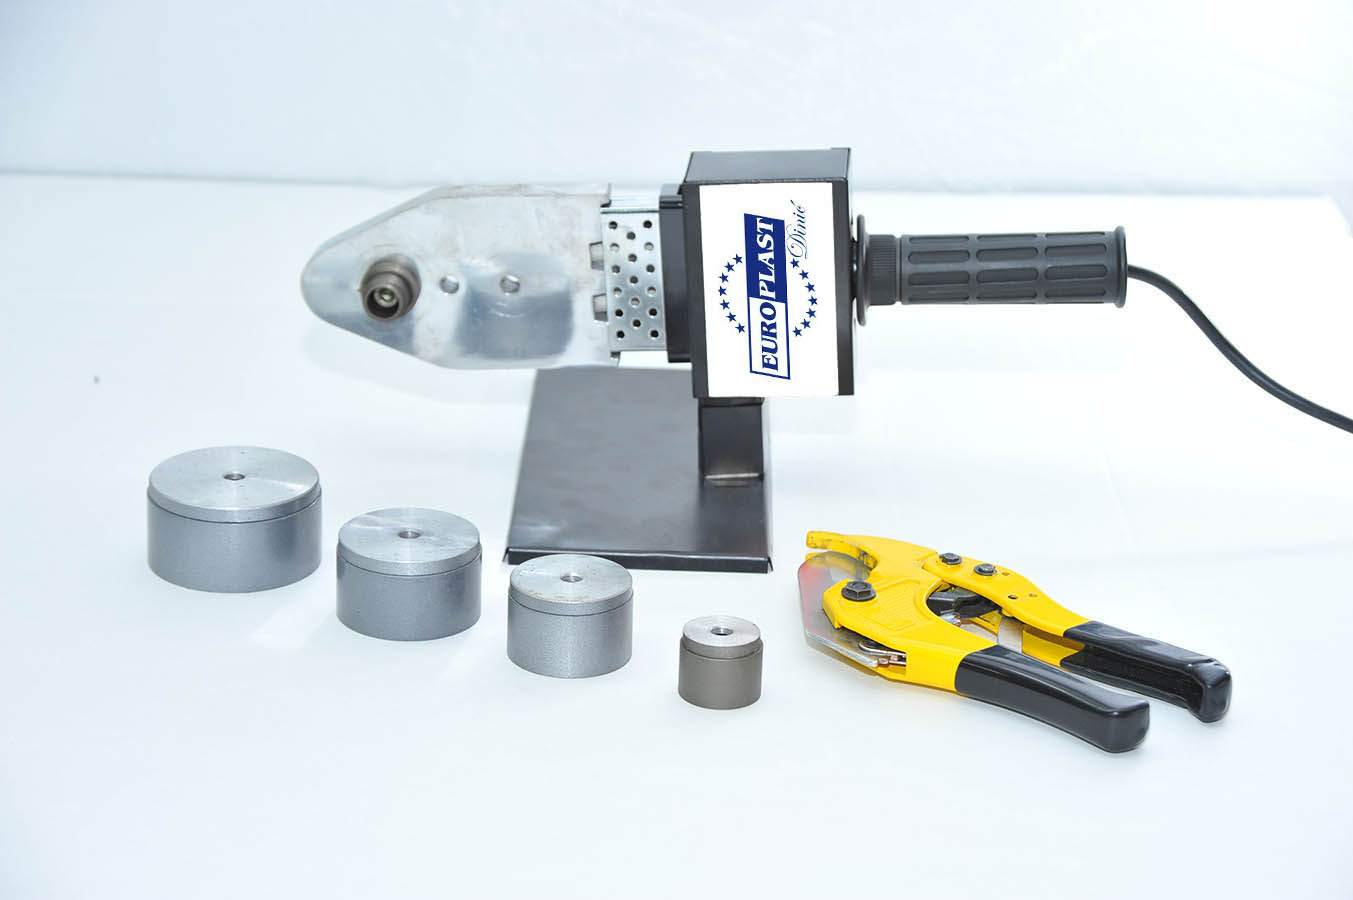
Tools needed: Welder, cutting pliers, meter, pencil
Time needed: It depends on project’s size ⁽shown in table⁾
|
Outer diameter (mm) |
Depth of heating (mm) |
Heating time(sec) on temperatures from 270ͦC-280ͦC |
Joining time(sec) |
Cooling time after merging(sec) |
|
Ø20 |
14 |
6 |
4 |
3 |
|
Ø25 |
16 |
8 |
4 |
3 |
|
Ø32 |
20 |
9 |
4 |
4 |
|
Ø40 |
21 |
13 |
6 |
5 |
|
Ø50 |
22,5 |
19 |
6 |
5 |
|
Ø63 |
24 |
25 |
6 |
6 |
Fluidterm tubes are made to provide undisturbed, safe and ecologicali sustainable flow of hot and cool water. Thay can be used for garden irrigation systems, pressured air distribution, vacum instalations, oil transport and floor heating.
Among other good characteristics we can mention:
Stainless, smooth surfaces prevent stone forming, low condensation in contrast to metal instalations, resistance to cold, low weight…
Installation procedure:
According to specification you should connect sutable device with imbus screw, screw should not be too tight, to prevent damaging the device. Ussualy “Male part” goes before “Female part”, be carefull during heating process.
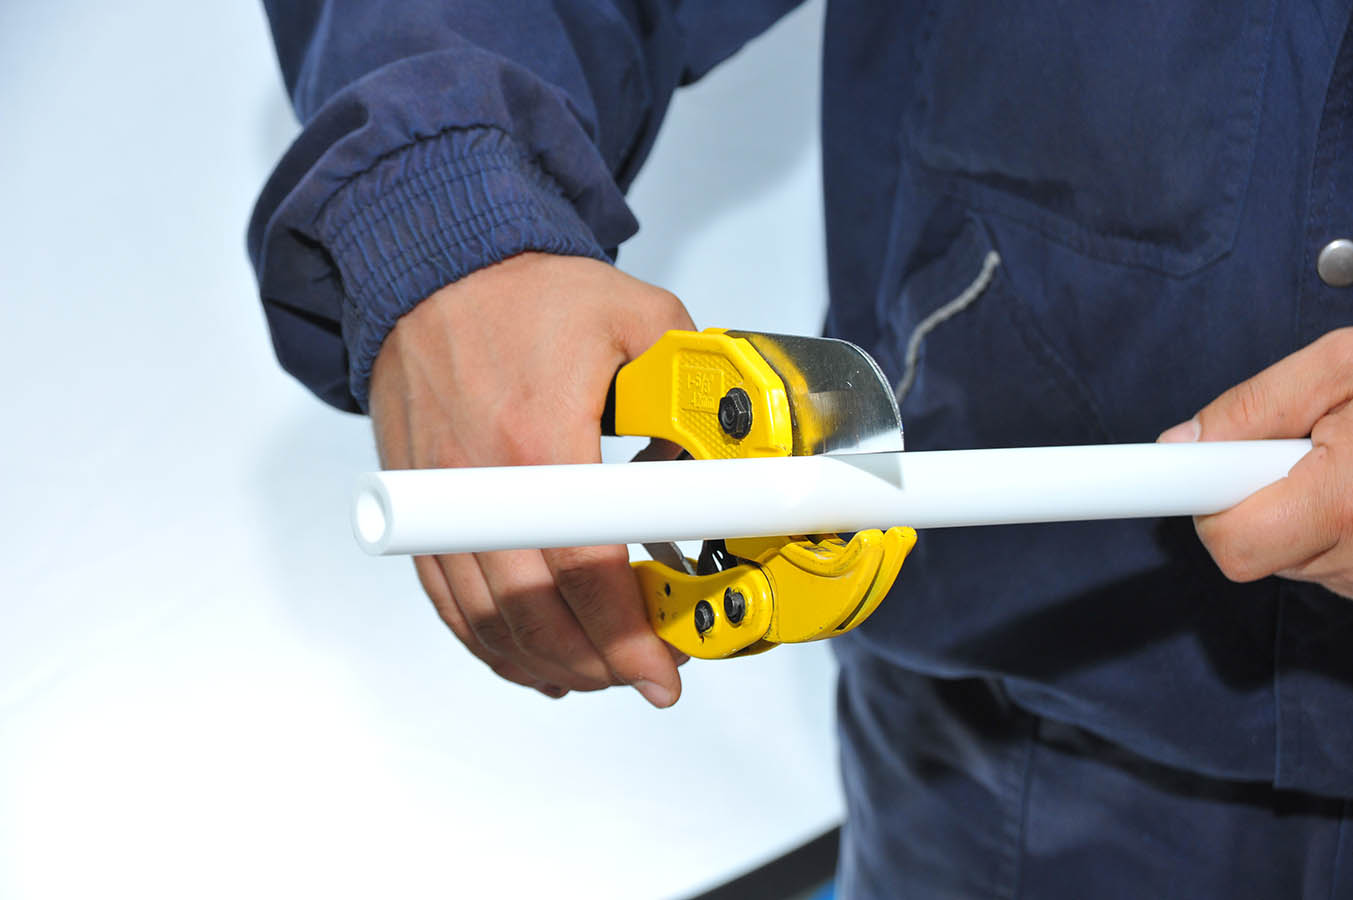
First, measure Fluidterm tube to needed lenght, mark cutting place and cut Fluidterm tube.
Cut must be at right angles to the tube axis. This is important for good and safe join and leaks prevention.
When peace is cut, it’s time for joining.

When you plug in your welder red light(or two, depends on model) will turn on. Before you start to heat joints wait for lights to turn off. Then you can start heating.
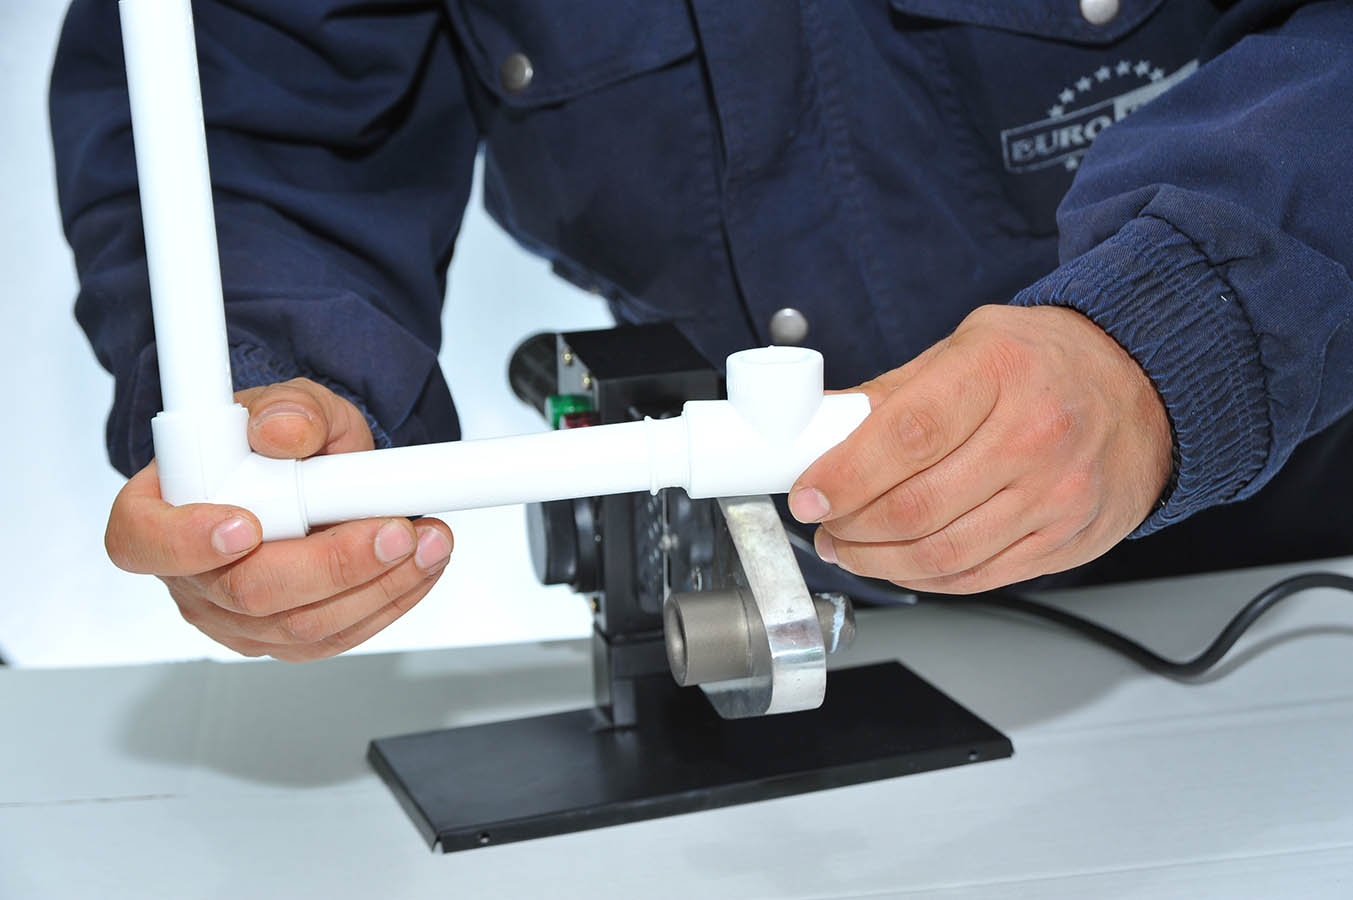
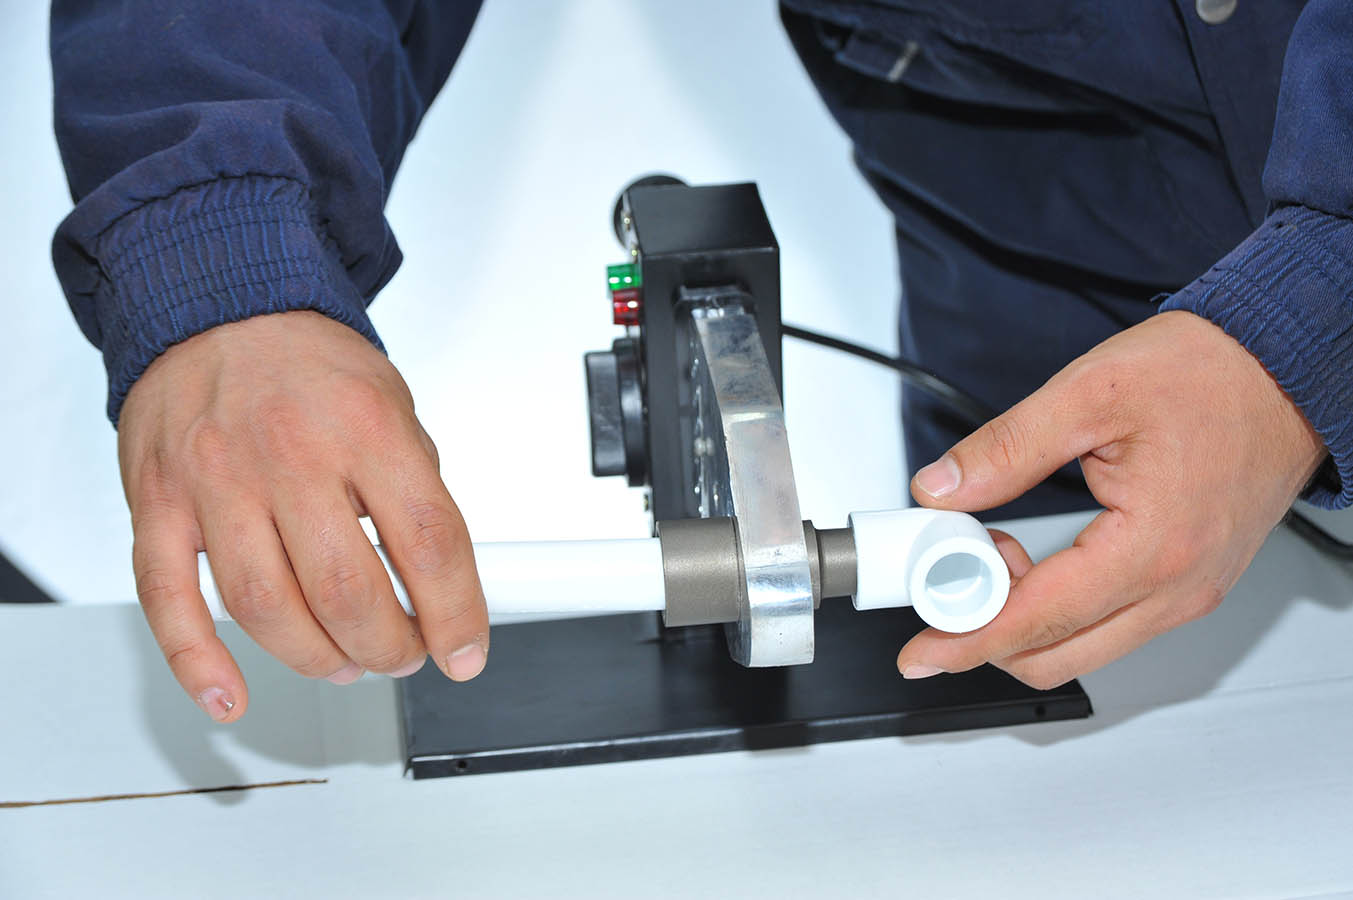
Fluidterm tubes and fittings are simultaneously imprinted in the corresponding teflonised inserts, but not touching the inserts limiter.
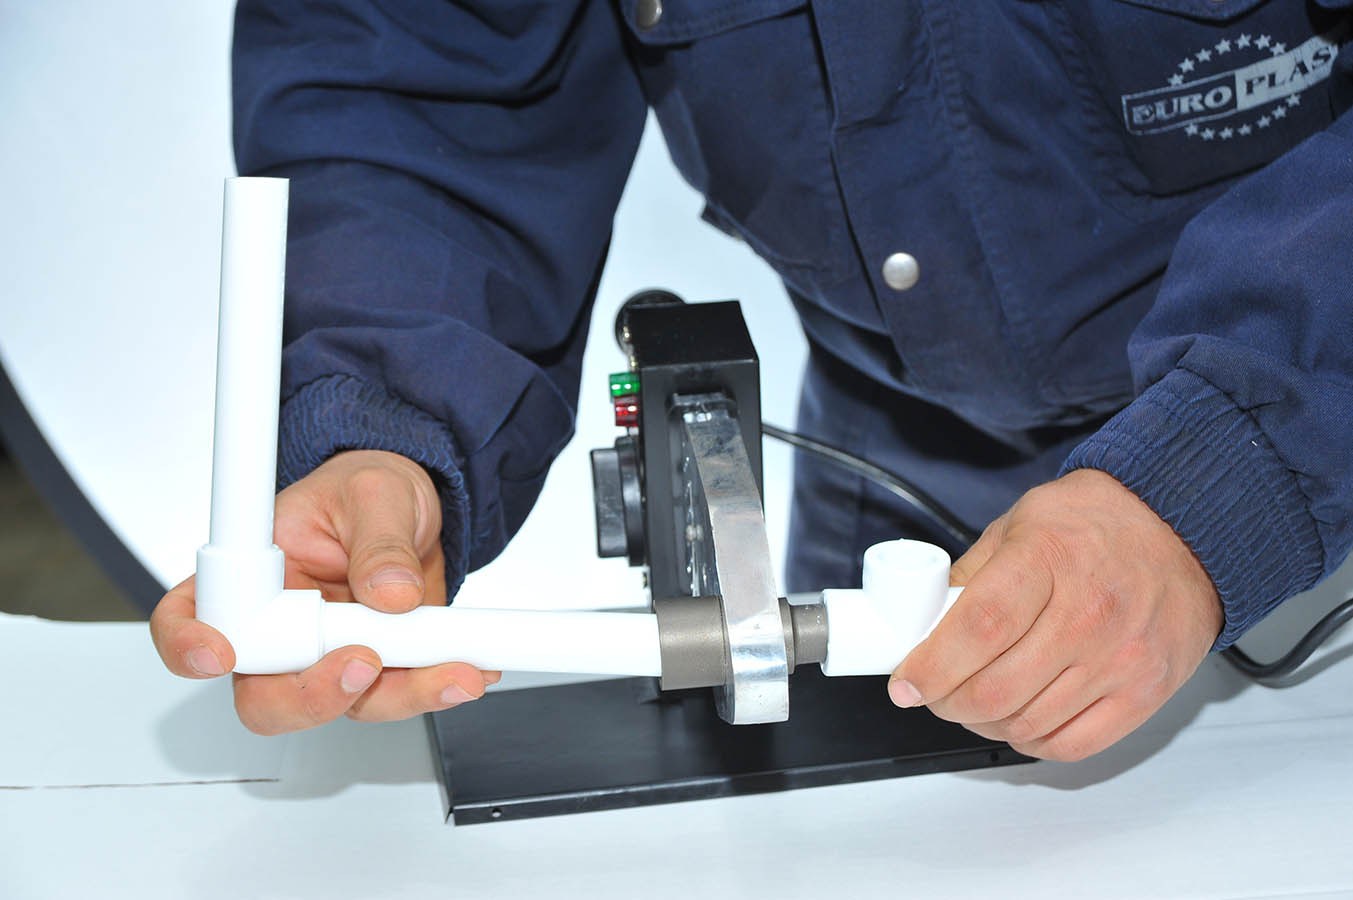
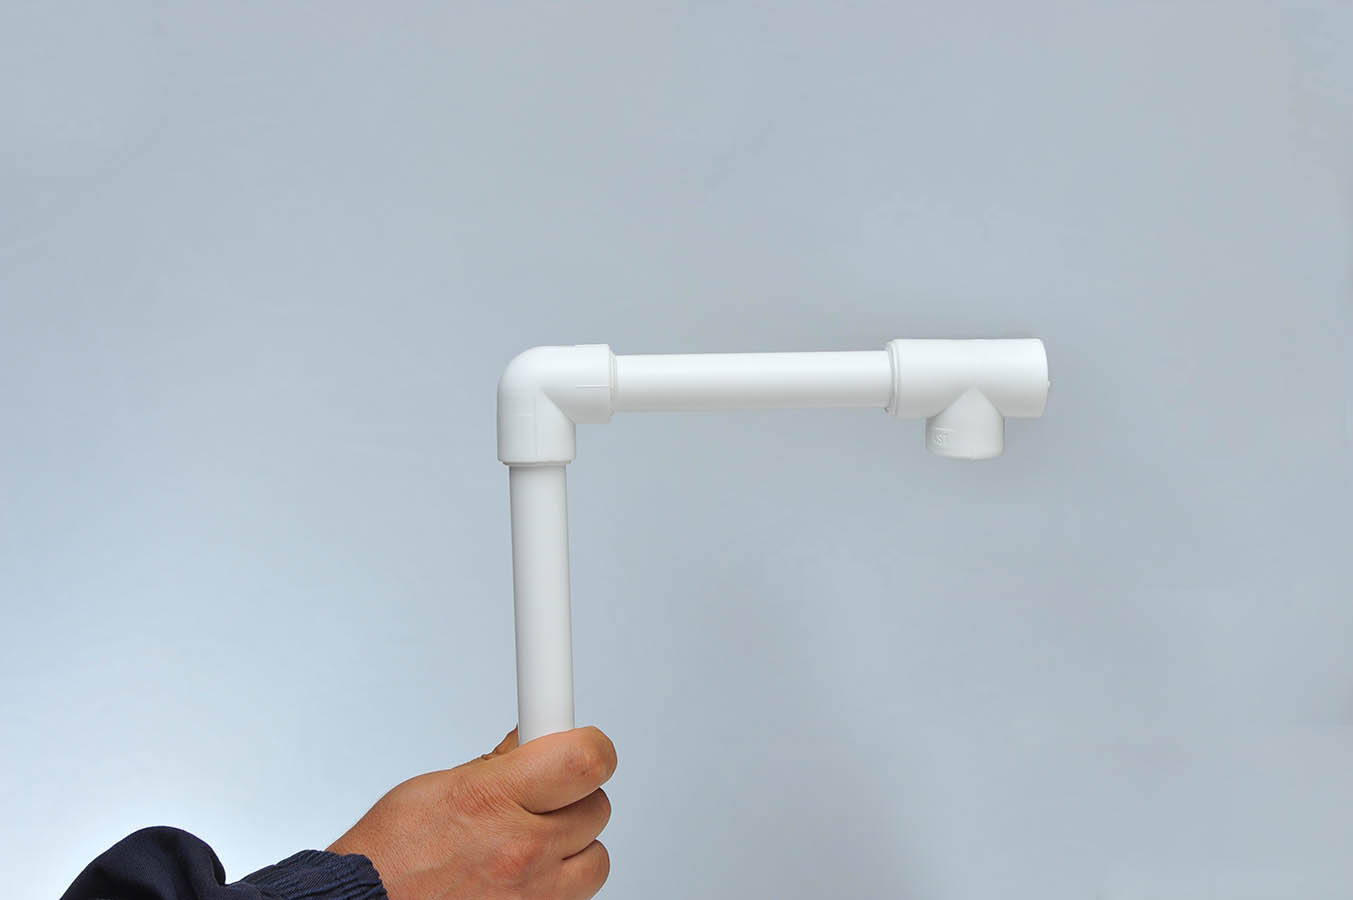
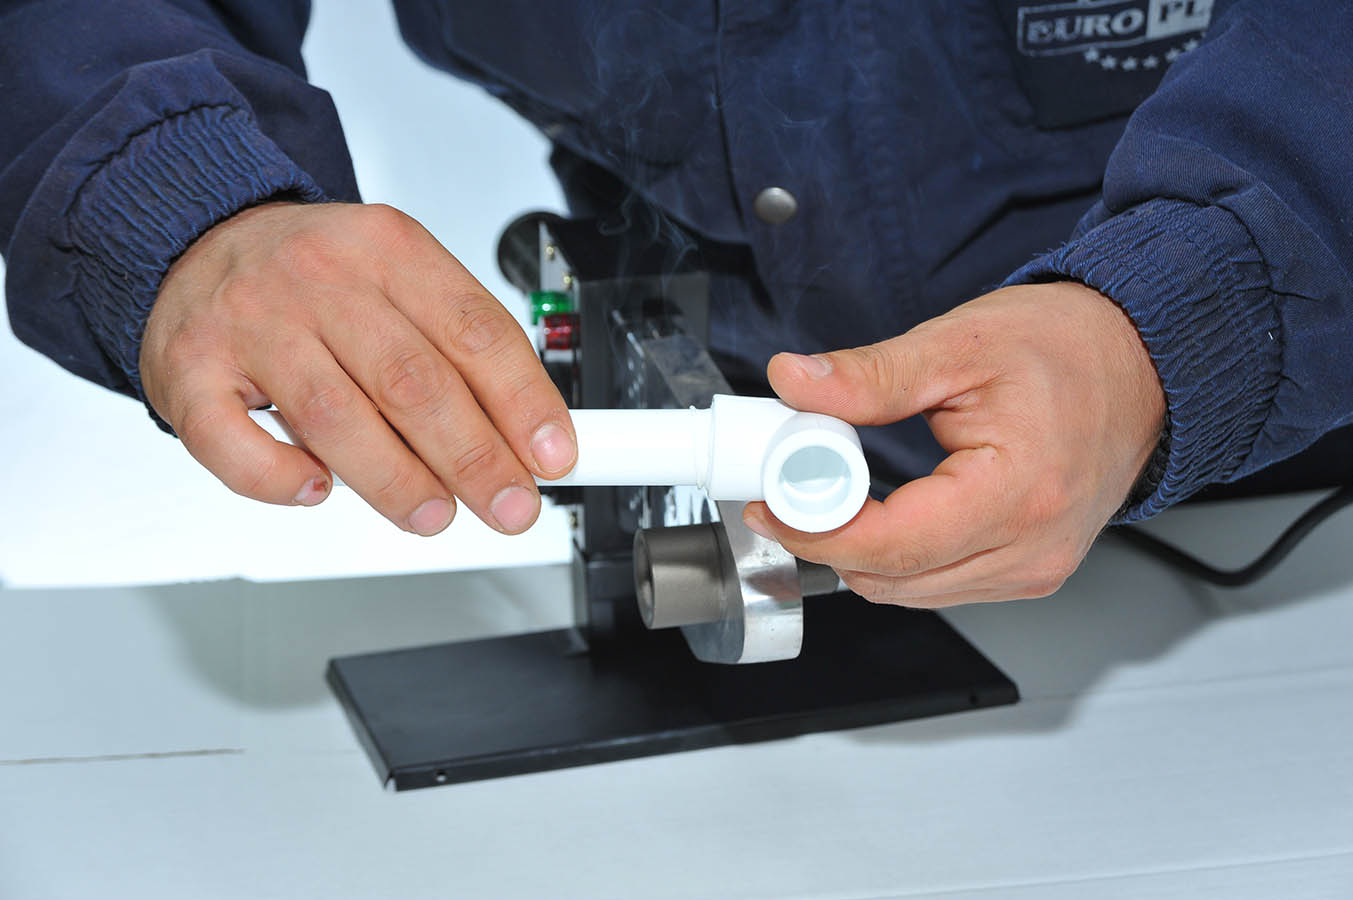
After heating time, heated Fluidterm tube and fitting can be pulled out of welder and joined one into the other.
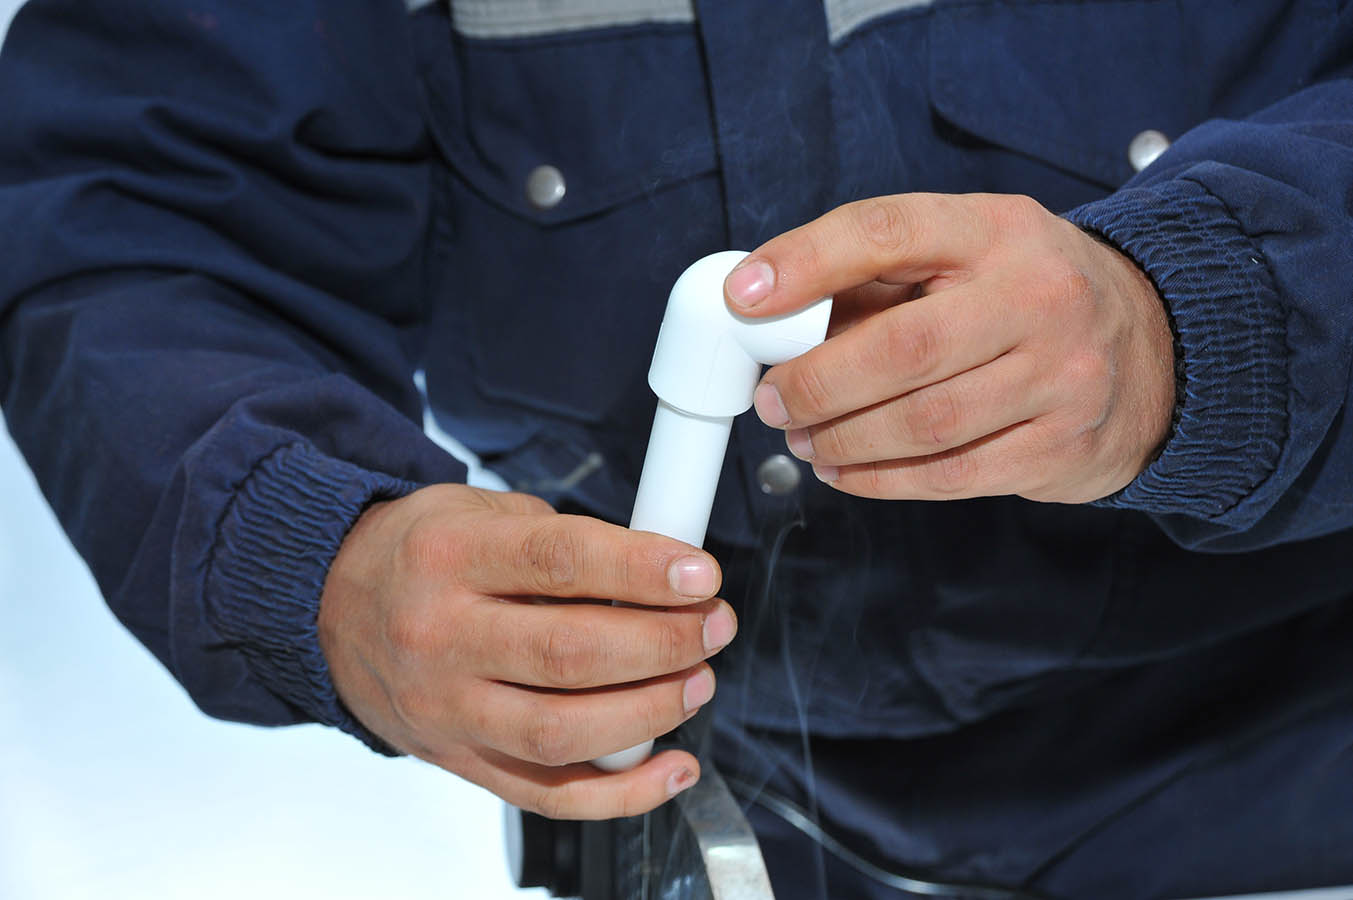
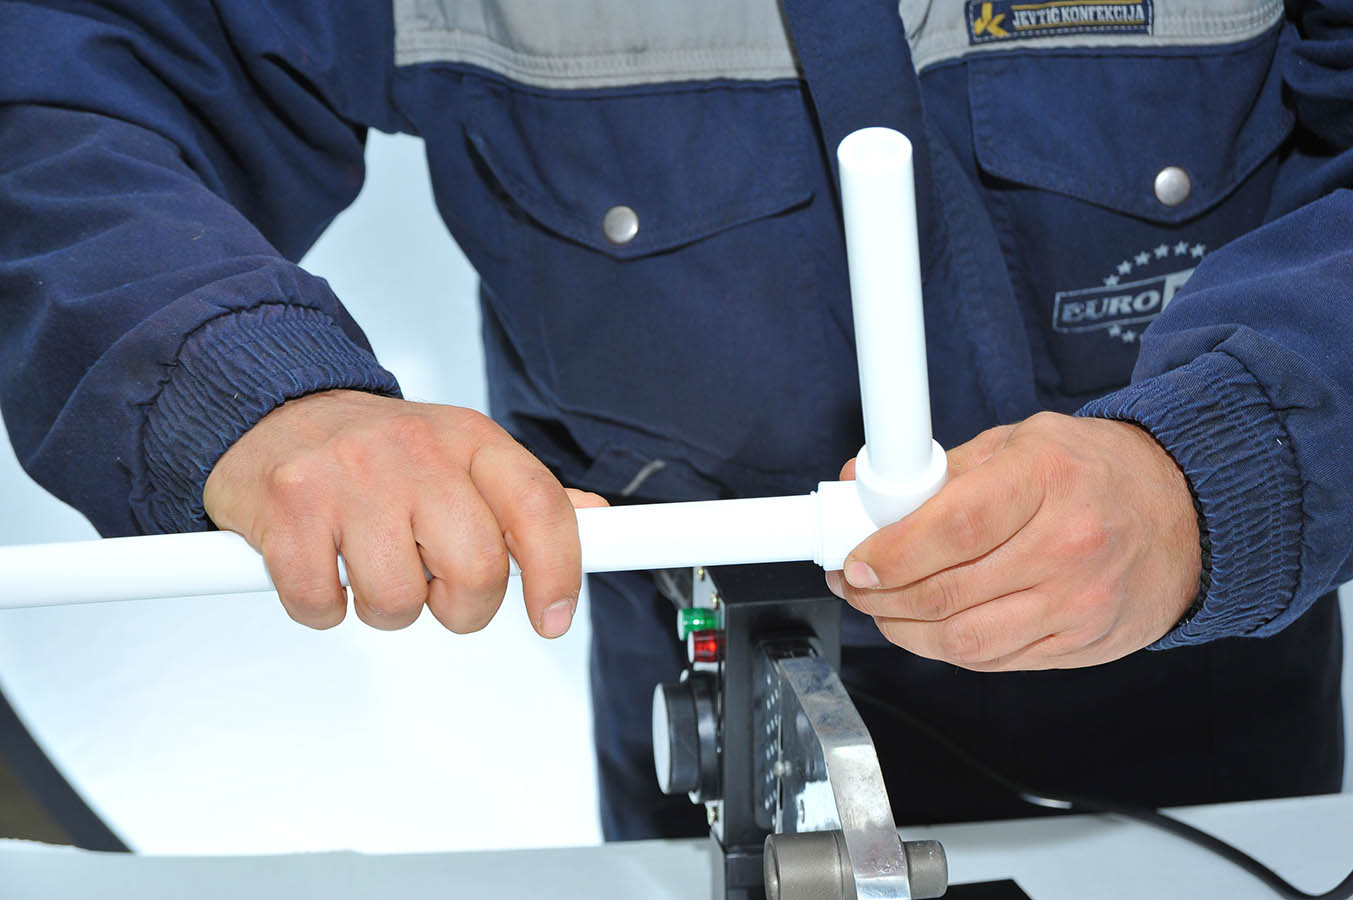
Fluidterm tube should be pushed to the stop in the fitting.
Warning: Do not adjust or rotate after putting it into heater.
Note: Be carefull with welder and pliers to avoid injuries.